Sunday, December 27, 2015

Bradford Pear Wine!


You should be well acquainted with Bradford Pear trees. They are everywhere, and they smell awful in the spring. They are some of the most popular landscaping trees around. They are attractive, nicely shaped and resistant to most diseases. However the roots are shallow, the limbs are weak and a strong wind storm easily destroys older trees.  They were imported in 1910 from China and are generally sterile. However when they do produce and birds transport the seeds, the feral trees become great producers of tiny tart pears about the size of a cherry. You can pick them in September and early October.

The fruit is edible but needs the right recipe as it is very tart. There are not a lot of recipes since the tree is a recent addition to the US and was not widespread during the Great Depression when people would have experimented with it more. I like to try something new with it every year since it is widely available.  This year was wine and now a favorite! The flavor is sweet, strong, and tastes like pears. The primary fermenting container is a lidded glass container which is 2.5 gallons and was purchased at Walmart for about $12.  You can find it next to the canning jars.

Bradford Pear Wine Recipe

Ingredients:

8 cups of Bradford Pears
2 gallons water
12 cups sugar
4 teaspoons loose tea
1 campden tablet
1 lime, sliced
1 teaspoon pectin enzyme
2 teaspoons yeast nutrient
1 pack of yeast (wine yeast is best but baking yeast works fine)

2 or 2.5 gallon lidded crock

Directions:

Rinse pears and remove stems. In sections, crush pears by double bagging and using a rolling pin (or step on). Don't use a food processor. You do not want to break the seeds as it may make your wine bitter. Add to a two gallon lidded crock.

Boil 1 gallon of water and sugar.  Pour over crushed pears. Add tea. Add crushed campden tablet. Mix. Add sliced lime. Mix. If there is space in fermenting jar, add water from the other gallon of water until full. Mix.

Let sit over night (24 hours).

Add 1 teaspoon pectin enzyme and mix. Let sit for six hours.

Add yeast nutrient and yeast. Add lid and clear plastic wrap around lid to prevent anything from entering (a single fruit fly could destroy the entire batch). Occasionally stir. Let sit until bubbles subside.  Mine took about eight weeks and was quite strong. Rack wine to clean bottle(s). Rack again once it settles for clear wine.

For best results let wine age six months, though you can drink it at this point.


Monday, December 14, 2015

Hedge Apples (Osage Orange) as Medicine

Lately I have seen numerous references to the use of Hedge Apples as an effective treatment for cancer. I began to wonder, what would you do if someone you loved had cancer and something catastrophic occurred that caused the medical field/ economy to collapse? Or if traditional treatments did not work? So as an experiment, I trudged out to the trees in December to see the state of the hedge apples. While the exterior was beginning to brown in spots, the flesh was still firm and fragrant. I collected five to try dehydrating. After which I plan to grind into powder and add to my growing herbal collection. In the past, I have tried the seeds of the hedge apples (pretty good) so I left them in. Hedge apple flesh is not very tasty though not poisonous. However, if you have a latex allergy you may want to avoid them. They have gained a bad reputation because they tend to cause cattle or horses to choke. Squirrels really like them.

Some people freeze them whole and grate for a tablespoon twice per day while others dehydrate and turn into a powder which can be put into capsules. I am not recommending this as a treatment since I do not have personal information on it and I am not a medical doctor, but I do want to have it on hand if needed. I have found that I will forage something thinking it will never be needed or used only to realize its value and use later.

Sunday, December 6, 2015

Crockpot Mustard Greens


Mustard greens, both wild and domestic, love cold weather. They are the last to die out in winter and some of the first to show up in spring. But what to do with them? Frying them in bacon grease is wonderful, I admit, but, honestly, bacon is expensive and I try to avoid more than two cooking steps. This recipe is great because you can use some of your home canned bone broth and once it is set up, you can leave it alone until done. Thus, it was a perfect Thanksgiving side dish!

Crockpot Mustard Greens

Ingredients:

Grocery store bag stuffed with cut mustard, tough stems removed and torn to bite size pieces
1 large red onion chopped
1 hot pepper cut in half or 1 teaspoon of dried red pepper flakes
1 smoked ham hock or smoked turkey part (drum, neck, etc.)
3 cups bone broth (chicken, turkey or ham)
1 teaspoon salt
1 teaspoon pepper

Directions:

Grease inside of 6 or 7 quart crockpot. Place smoked meat. Add mustard, pepper, onion and seasonings. Lightly toss. Pour broth over ingredients.


Cook on low for six hours. Remove hot pepper and meat part before serving (optional).

Monday, November 16, 2015

Acorn "Meat" Balls!

No meat!  My fourteen year old son said they taste nearly like meatballs and my twelve year old son said he would not know the difference and that they even smell like meatballs. Both would eat them again, especially in spaghetti sauce.

I was trying a new method to quickly remove the tannins (success) when I realized the nuts looked like ground beef and were bland enough to be used as such with the right seasoning. These began as acorns from a Sawtooth Oak.


Last year I posted that I did the soak forever method and another forager, Mike Krebill, told me about how he did it, and the tannins were gone in under fifteen minutes, less for milder nuts. I said I would try it this year and when I did, I was amazed.  Here are his instructions:


"I put a cup of shelled acorns in the blender, fill it with water, and process it for two minutes. I pour the slurry into a dishtowel-lined colander set in my kitchen sink, and turn the water on to the point where I can stir the slurry around with a wooden spoon without losing any of it over the top of the colander. With the water running, I stir for 8 minutes, then turn the water off. What remains looks very much like damp sand. I taste a pinch to check for bitterness. If it is still bitter from tannins, I turn the water back on and stir for a few more minutes.


The fastest I've ever produced satisfactory red oak acorn meal is 8 minutes. Sometimes it has taken 11 minutes. Bur oak acorns have required 15 minutes. White oak acorns took 10 minutes. I bring up the ends of the dishtowel and squeeze out as much water as possible, then freeze the meal while it is still damp. Drying it is not necessary, as long as you add the damp meal into your recipes after adding water. The flavor and texture of the baked goods is superior to using dried acorn meal or acorn flour. My preference is to vacuum seal two cups of meal at a time in a labeled quart bag, pressing it flat. The flattened bags quickly freeze, and can be thawed out in minutes in a bowl of warm water. Vacuum sealing them this way keeps them good for years, so I always have enough between good mast years."


Acorn "Meat" Balls

Ingredients:

4 cups ground acorns
3 cups bread crumbs
1 large red onion, chopped fine
2 cloves of garlic minced
Salt and pepper
1 teaspoon oregano
1 teaspoon thyme
1 teaspoon basil
2 tablespoons wild garlic chives or green onions chopped
1 3/4 cup shredded cheese
1/2 cup broth
4 eggs

Directions:

Mix all dry ingredients together. Mix in wet ingredients.


Mold into balls. Place on greased cookie sheet. At this point you can add a sauce of choice or glaze. I used a glaze of Crab Apple Rosemary Garlic Jelly.


Bake at 350 for 30 - 35 minutes.


Enjoy!

Sunday, October 25, 2015

Honey Locust Coffee

I love coffee. A lot. In the world of foraging there is a constant search for a coffee like substitute. It appears I am not the only one with a coffee addiction. Coffee beans are not commonly grown in North America so finding a substitute is a national quest. Wild edibles that have been frequently used are dandelion root, chickory root, white avens roots, and honey locust seeds from the long pods. Just as an aside, the only plant I have found to grow in North America that produces actual caffeine in a substantial amount is the Yaupon Holly.

Recently, a foraging friend online, Peter Gussie, experimented with using Honey Locust pod seeds as a form of coffee bean. He graciously allowed me to share his experience.

He collected a grocery store bag's worth of Honey Locust pods which produced about 3/4 cup of seeds.


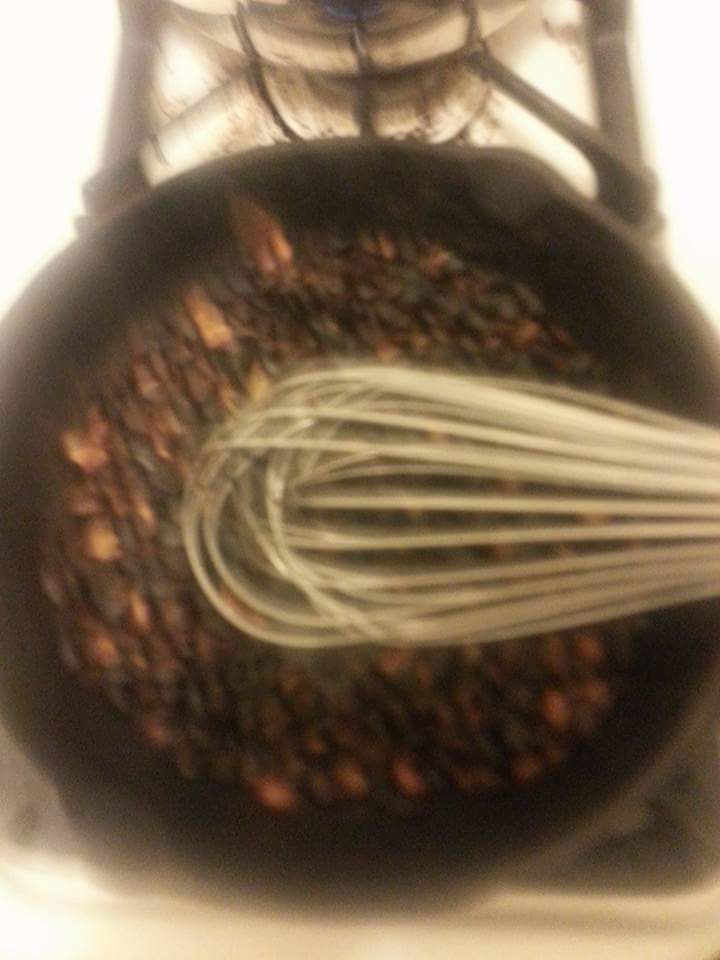
He roasted them in a cast iron skillet for 15 minutes.


The "beans" were not uniform in size so some cooked darker than others.


The final brewed batch tasted more like Earl Grey tea than coffee, but good, nonetheless. You can definitely pick up a little sweetness from the beans.


Thanks Peter Gussie for the review!


Saturday, October 17, 2015

Spiced Pickled Cantaloupe

This week our local grocery store had their cantaloupes for .25 each! So how do you preserve an abundance of cantaloupe? You can cube and freeze for smoothies or you can can them. Here is a great recipe that would make an excellent side dish.

Spiced Pickled Cantaloupe

8 firm cantaloupes, cubed
2 cupes pickling lime
8 1/2 quarts water

6 cups white wine vinegar
6 cups water
24 cups sugar (3 - 4 lb bags)
2 T powdered cloves
2 T ground allspice
2 T ground ginger
Peppercorns

In a five gallon food grade bucket, mix pickling lime and water. Add cantaloupe. Allow to sit over night. Cantaloupe will become crunchy.

Day 2: Drain and rinse until clear. Fill with water and let sit for three hours.

Bring vinegar, water, sugar, cloves, allspice and ginger to boil in large pot (I used my second waterbath canner). Drain cantaloupe and add to boiling syrup. Boil for 1 hour.

Meanwhile begin your waterbath canner and prepare 16 to 18 pint jars.

Add a peppercorn to each jar. Fill with cantaloupe mixture and seal. Waterbath for 15 minutes.

Honey Locust Persimmon Beer!

Wild persimmons, green apples and honey locust pods.
Honey locust beer recipes can be found in several antique reference books. I wanted to give it a try just to see how it would turn out. I have made wine many times but never beer. It turned out to be easy and produced a beer that resembles a dark fall-flavored specialty variety. I will definitely do it again in the future.  Here is the original recipe:

Honey Locust Persimmon Beer Recipe

Ingredient:

Long black Honey Locust pods
Ripened persimmons or sliced apples
2 cups molasses or honey
Water

Directions:

Break pods into pieces.  Place layer in keg or crock.  Add persimmons or apples. Cover with boiling water. Add sweetener, let stand at least four days before using.

My notes: It was dilemma as whether to wash the pods or not since I was concerned for the natural yeast. Thus, I only washed the pods that really looked dirty to me (about half, lol). It turns out not to make a difference since I had to add yeast anyway. So in the future I would wash all the pods off.

Also, I used a two gallon crock/container. I alternated the layers with ingredients. I used a grocery store bag full of locust pods, a handfuls of persimmons, and three lbs of green apples.  I used molasses and added two teaspoons of Redstar yeast. I mixed the molasses and hot water together before adding to the fruit to distribute it evenly.  To add the yeast, I removed some of the liquid on day three since natural fermenting was not happening, warmed it slightly and mixed in the yeast. Then I returned it to the crock. It fermented for twelve days before bottling.

Broken honey locust pods.

Persimmon layer.

Sweet honey locust pulp.

Layers of ingredients.

On day three there was no fermentation so two teaspoons of yeast was added. It came to life on day four!

Day twelve fermenting had gone quiet.

Day twelve and ready to move to bottles.

Beer with carbonation!

Moving to bottles with great flavor and nice bubbles!